
Having an oven that doesn’t heat food evenly can be extremely frustrating. From burnt cookie edges to undercooked casseroles, uneven heating leads to disappointing results in the kitchen. Getting your oven to maintain a consistent temperature throughout can seem like an impossible task.
However, in most cases the problem can be easily identified and fixed with some basic troubleshooting. This comprehensive guide will explore the common culprits behind uneven oven heating and provide step-by-step solutions to help you diagnose and repair the issue.
Arm yourself with the right information and a few tools, and you can have your oven heating evenly again in no time. Read on to learn what might be causing your uneven heating, how to pinpoint the problem area, and tips to fix it so baked goods and roasts come out perfectly cooked from edge to edge.
What Causes Uneven Oven Heating?
When trying to diagnose why your oven isn’t heating evenly, there are a few key components that could be the root of the problem:
Faulty or Worn-Out Heating Elements
The heating elements or coils in your electric oven are responsible for providing the heat needed to bake and cook foods. Over time, these elements can burn out or short, leading to inconsistent heating. If the lower or upper element goes bad, you’ll get more heat from one direction than the other.
Similarly, damaged heating coils in a gas oven will fail to distribute heat properly throughout the oven cavity. Cracks or gaps in the coil can create hot and cold spots.
Clogged Oven Vents or Airflow Issues
For your oven to heat food evenly, hot air needs to circulate freely throughout the oven. If vents or gaps become covered in food splatter or debris, airflow is restricted, potentially leading to uneven temperatures.
A faulty seal on the oven door can also disrupt proper airflow and heat distribution. Heat escapes through any gaps, taking away from the overall heating performance.
Problems with Thermostat or Temperature Sensor
The oven thermostat and temperature sensor work together to monitor heat levels and adjust accordingly. If either component is damaged or incorrectly calibrated, inconsistent cooking temperatures will result.
A bad thermostat might fail to regulate the temperature or cycle the heating elements properly. An inaccurate sensor provides faulty data to the thermostat, throwing off the entire heating system.
How to Diagnose the Problem
Pinpointing exactly where the uneven heating problem originates will help guide you in how to fix it. Here are some useful troubleshooting methods:
Visual Inspection
Doing a careful visual inspection of your oven’s interior and exterior can reveal issues. Look for any damages like cracks in heating coils or elements. Check that vents are clear of food spills and debris.
Examine the door seal for gaps, charring, or sagging, and confirm that the door closes properly and securely. Loose or warped racks could also impact heat circulation.
Oven Thermometer Test
By using an oven-safe thermometer, you can check temperature consistency throughout the oven. Place the thermometer in the center of the oven and monitor it as the oven preheats. Then move it to all corners and spots, comparing readings.
Significant differences in temperatures, or failure to reach set temperature, indicates a heating problem. Take notes on the hottest and coldest areas to target repairs.
Check for Hot and Cold Spots
Heat a piece of bread, a biscuit, or other food item alone on the center rack. When finished, evaluate the level of browning or burning on all sides. Repeat the test placing food in different oven locations.
Take note of any significant variations, like extreme edges that are very dark while the center is pale. These reveal where heat is inconsistent in your oven.
Fixing Oven Elements and Heating Coils
If your diagnosis points to faulty oven heating elements or damaged coils, replacing these components should resolve your uneven heating.
Locating the Heating Elements
Electric ovens have both an upper and lower heating element, with the lower element concealed under the oven floor. Remove the racks to access the upper element. The bottom element requires removing a panel, often on the oven’s rear.
Gas ovens have removable tubular heating coils along the oven’s sides and ceiling. Locate the manufacturer’s diagram for your model to find where coils are situated.
Replacing Coils or Elements
Obtain the replacement part unique to your oven make and model. Turn off power/gas and allow oven to cool completely before replacing. Follow installation directions carefully, reconnecting wires and clips properly.
Restore power/gas once finished and test oven function. Repeat process if any coils/elements are still malfunctioning.
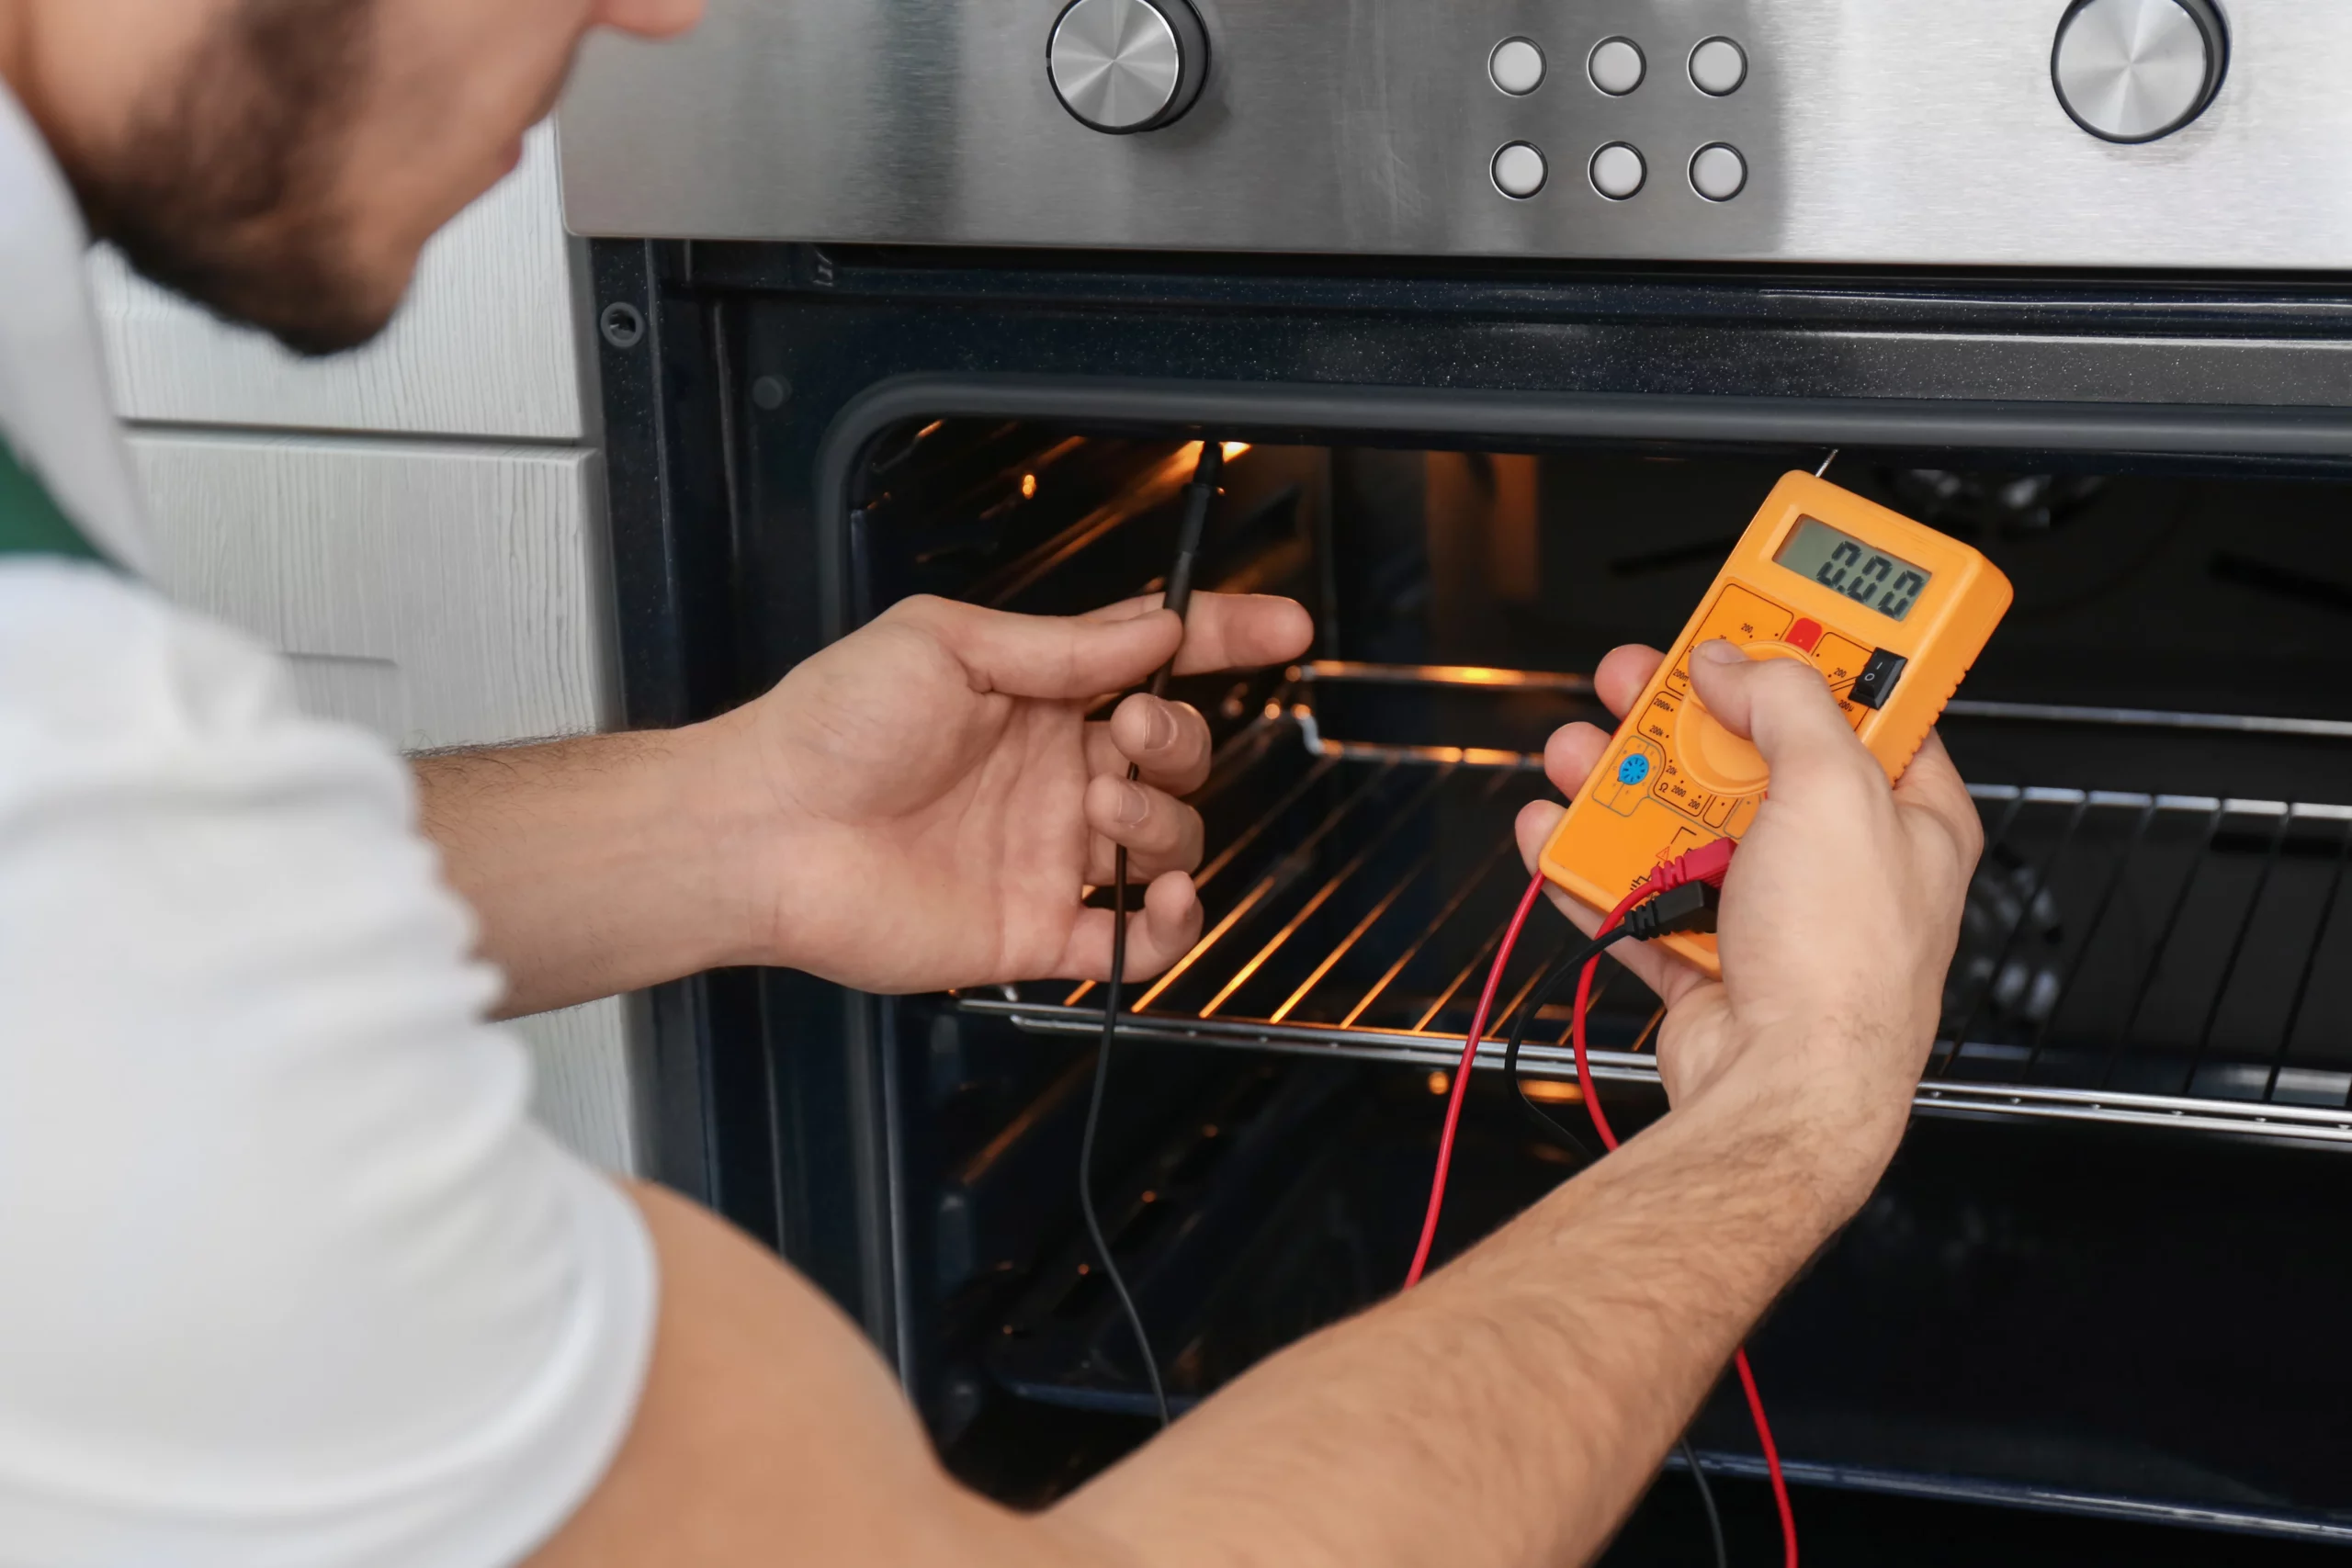
Testing Elements
Sometimes elements and coils just need repair, not replacement. Check for continuity with a multimeter to determine if an element has broken links. Repair minor cracks in coils using high-temp cement glue.
Replace any wires that are damaged or burnt, splicing properly. Elements should heat up when power is restored – if not, they likely need replacing.
Cleaning Oven Vents and Improving Airflow
Clogged oven vents are another common culprit behind uneven baking and roasting. Follow these steps to clear buildup and get air moving freely again:
Where Oven Vents Are Located
Consult your owner’s manual to identify vent locations. Vents are typically found at the rear top or bottom of the oven cavity. Wall ovens also have vents on the top, bottom, or back of the exterior.
Removing Debris from Vents
Unplug the oven or turn off the power at the breaker. Then use a butter knife or toothpick to gently loosen any baked-on debris covering vent openings. A vacuum crevice tool can remove loosened buildup. Avoid scratching the finish.
Checking Oven Door Seal
Examine seal for any gaps, burns, tears or sagging that disrupt the tight closure. To test the seal, place paper between the seal and the closed door. Paper should resist sliding and tugging when the door is shut. Replace seal if needed.
Replacing a Faulty Thermostat
The oven’s thermostat manages electrical current to regulate temperatures. If diagnosis confirms the thermostat is damaged, follow these steps:
How a Thermostat Works
Thermostats control a bi-metal switch that opens or closes depending on temp readings. Current flows when closed to power elements. When the preset temp is reached, it opens to stop current and end heating.
Testing the Thermostat
Set the oven to 350°F and test with a thermometer after 15 minutes. Temperatures 100 degrees over or under indicate thermostat trouble. Also check if heat fails to shut off once preheated.
Installing a New Thermostat
Shut off the power source and label wires before removing the old thermostat. Install replacement units according to the diagram, matching wire colors and terminals. Restore power and test for proper function. Call a technician if issues persist.
Adjusting the Temperature Sensor
The temperature sensor works with the thermostat to measure oven cavity heat correctly. An inaccurate sensor can throw the system out of sync.
Locating the Sensor
Sensors are typically found affixed to the rear oven wall, protruding into the cavity. The sensor may be covered by a small metal cap or have an exposed wire filament. Consult manual for location.
Checking Sensor Accuracy
Compare sensor temperature readings to an external thermometer at various stages of preheating. If sensors differ by more than around 20-25 degrees, the sensor likely needs replacing.
Replacing Sensor if Needed
Turn off power before removing the sensor by unscrewing mounting brackets. Install new sensor with filament tip centered in the oven cavity. Restore power and test for improved temperature control.
Doing an Oven Calibration
If your oven’s heating is only slightly off, a calibration adjustment could help align temperatures evenly.
What Calibration Means
Calibration allows you to offset the difference between displayed and actual temps. Settings can be adjusted to increase or decrease heat in certain increments.
Instructions for DIY Calibration
Check the manual for your oven’s calibration process. Many involve pressing and holding certain buttons until offsets are displayed. Enter positive or negative offsets to raise or lower heat.
When to Call a Technician
If you are unable to access calibration mode after consulting manuals, or adjustments fail to improve heating, contact an appliance repair technician to properly calibrate the system.
Top Tips for More Even Heating
Aside from repairs, small changes in how you use your oven can promote better heat circulation:
Oven Rack Placement
Avoid crowding racks, as airspace between pans allows better flow. Stagger pans in a zigzag pattern rather than directly above one another.
Pan and Foil Use
Dark metal pans absorb and conduct heat best. Shiny pans can create hotspots. Tent foil to prevent insulation. Avoid excessive foil which traps heat.
Keeping Oven Clean
Burnt-on grease and food can act as insulators that prevent heat spread. Use oven cleaners and gentle scrapers to keep the interior clean.
Allowing Preheat
Fully preheating before cooking ensures even air temp rather than trying to compensate mid-cook. Don’t open the door repeatedly during preheating.
Troubleshooting Specific Models
Certain oven models are prone to their own unique heating issues:
Brands Like Whirlpool, GE, Frigidaire
Consult brand forums to identify commonly replaced parts. Whirlpool ovens may have faulty lower elements, for example.
Newer vs Older Ovens
Old ovens tend to have more wear on elements and seals. Newer models can have defective electronic controls vulnerable to surges.
Electric vs Gas Ovens
Electric ovens with damaged elements or relays can cause uneven heating. Gas ovens may have regulator or igniter issues.
When to Call a Professional
While many oven heating issues can be DIY repairs, some scenarios are best left to the pros:
Complex Repairs
If diagnosis points to complex parts like spark modules or oven control boards, professional expertise is recommended. They have proper tools and training.
No DIY Experience
If you are not comfortable accessing internal oven components or lack electrical/gas knowledge, hire a certified appliance repair technician. Safety first.
Safety Issues
Gas leaks, exposed wires, faulty igniters, or major damage should be handled by an experienced oven repair pro. Don’t take risks.
FAQs About Uneven Oven Heating
Here are answers to some frequently asked questions about fixing ovens that won’t heat evenly:
Q: Why does my gas oven get hotter in the back?
A: Weak or damaged gas coils near the front of the oven cavity often cause higher heat in the rear. Have coils inspected and replace any that are cracked or burnt.
Q: What should I do if only the bottom burns food?
A: A damaged lower heating element is likely failing to heat properly. Replace the lower element to resolve undercooking on the bottom of dishes.
Q: Why is the top of my oven so much hotter than the bottom?
A: Gunk in the bottom oven vents can limit airflow and heat to the lower half. Clean all vents thoroughly so air circulates freely top to bottom.
Q: I replaced my oven element, but why is it still uneven?
A: Other elements or gas coils might also need replacing.diagnose heating individually. Test each rack position separately when preheating to pinpoint the problem area(s).
Q: How can I tell if my oven thermostat is bad?
A: If oven heats to much higher temperatures than set or doesn’t turn off when preheated, the thermostat is likely faulty. Replace it with the correct part for your model.
Q: Why does my electric oven cool down when I open the door?
A: A damaged door seal allows heat to escape rapidly when opened. Replace the seal so the oven can maintain the set temperature at all times.
Summary
Uneven oven heating can make cooking anything from pizza to pot roasts a disappointing chore. Fortunately, a few troubleshooting and repair steps makes it possible to get your oven heating evenly again.
Key problems areas to inspect include faulty elements or gas coils, restricted vents reducing airflow, a damaged door seal, and issues with the thermostat or sensor. Careful diagnosis guides you in making the needed repair, whether it involves replacing a part or simple cleaning.
Adjusting your oven’s placement and use can also promote better circulation. When needed repairs are beyond your skill level, rely on professional technicians. With the right knowledge and preparation, you can stop enduring hot and cold spots, and enjoy perfectly even baking results.